|
TeamSpeak Installation & Configuration
To participate in voice chat you need a sound card, a microphone, speakers and a voice chat software. For JOTI, we will be using the TeamSpeak software for chatting. On this page, we will instruct you how to install and configure TeamSpeak, given your sound system is installed and works properly. Download the TeamSpeak Client from here to your Computer. After downloading, start the installation by double-clicking on the TeamSpeak Installer icon. In case you have a multi-user system (e.g., Windows NT, Windows 2000, Windows XP) make sure you are logged in as system administrator. The next steps display screenshots. You may have a closer look at them by clicking on them.
After starting the installtion the first screen will appear. Just click on button Next to go on. 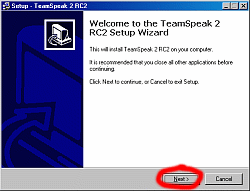
To accept the license agreement of TeamSpeak client select I accept the agreement and click on button Next. 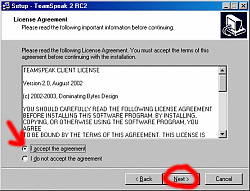
Now you have the possibility to select the directory where TeamSpeak should be installed to. Usually you will install it to the 'Programs' folder but you can select any other directory you want. Press the Next button to go on. 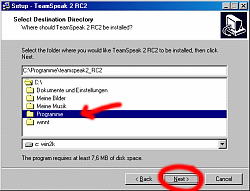
You can choose the name of the TeamSpeak folder in the Start menu. You don't have to change the given proposal. To go on click on Next. 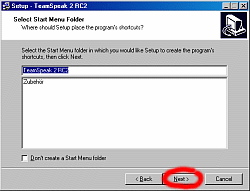
Tick off the checkbox in order to create a desktop icon for TeamSpeak. Next will continue the installation. 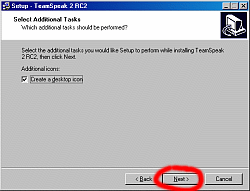
You will see an summary of your selections. If everything is fine select Install to go on. 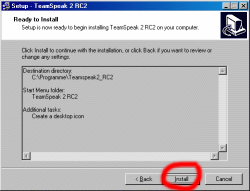
Now the TeamSpeak files will be written to your harddisk. 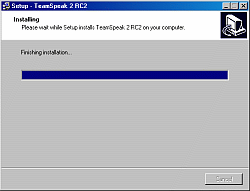
After the TeamSpeak files have been written to your harddisk the Codec Installer window will appear automatically. Press Next to go on. 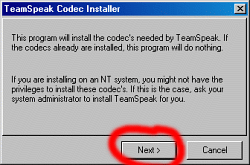
A screen with information about your system wil appear. If you lack permission to install, an error will appear here (see introducing remarks). Click next to continue. 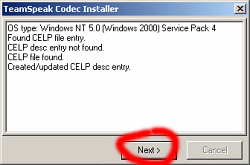
When the installation is done, you will be informed. Click Finish to close the Codec Installer. 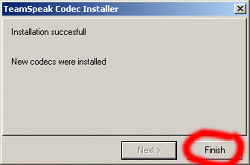
The release notes for TeamSpeak will now be displayed. You can go on with Next. 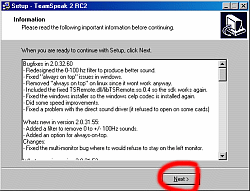
You have successfully installed TeamSpeak on your computer. To launch the client right away, tick off the checkbox and click Finish to close the installation wizard and launch TeamSpeak. 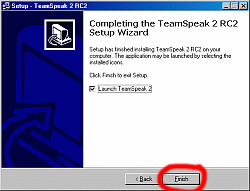
The TeamSpeak window will open unless something went wrong (in which case you should re-check the installation step-by-step). 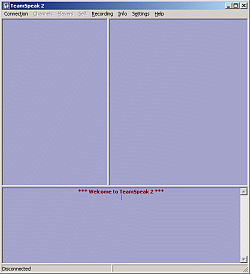
Since unintentional activation of your microphone may appear being irritating, we recommend to use Push to talk (Menu Settings, submenu Sound Input/Output Settings). After selecting your preffered behavior, click Set to activate your settings. After that, press the key you wish to use in order to activate your microphone. From our experience, you cannot do much wrong when you select the Alt key for this. 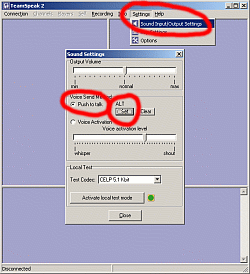
Since many sound notifications might confuse you, we recommend to disable them. To do so, select Disable all sounds at the Sound Notificationis tab in the Settings / Sound Input/Output Settings menu. After that is done, the basic configuration should be done. 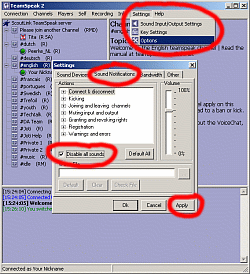
Now, you have to connect to a server. Select Quick Connect from the Connection menu and anter the server's address you wish to connect to (e.g., teamspeak.joti.org) and your nickname. After that, click on the Connect button. 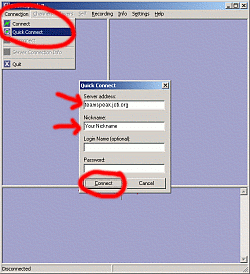
If connection to server will be established the appropriate information will be displayed in the window. 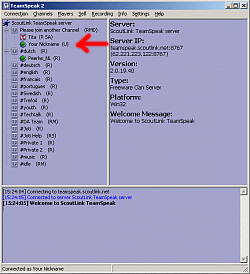
To join a channel just click on channel name and select Channels / Switch To Channel 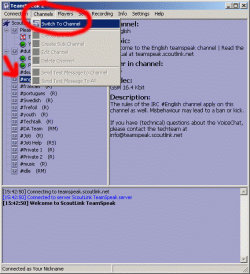
|


|
|
|
 |
||


